Showing posts with label buttons. Show all posts

Wednesday, February 27, 2013

Sweater Rescue

I found this amazing Woolrich blanket coat from the Salvation Army a few weeks ago, but there was an obvious problem: 
DREDED SWEATER PILLS!


Luckily a co-worker of mine (Hey Shelly!) introduced me to a battery powered fabric shaver a while back. Remembering this tool, I purchased my own from amazon.com for $10.


Using a flat surface, just place the shaver head on the fabric and move it along the section you wish to de-pill. I found that it's best to use a circular motion. Watch the magic happen.


So happy with the results!

From now on, before donating, I'm going to go through my clothes and see if there is anything I can save with this fantastic tool.

 Hmm, but by the way...did i mention the length of this coat!?


Oh, and that it's reversible!?


Working forever, see ya!

XO


Friday, February 22, 2013

So...Buttons.


One of the most simple, and inexpensive ways to dress up an old garment of clothing is by changing the buttons.  I am a huge fan of button up shirts, as well as blazers which usually have one button to close the front. 


When i went shopping to purchase some, I brought the articles of clothing with me to match up the buttons with the fabric. It also allows you to keep track of how many buttons you need to buy.


I ended up spending under $30 for all of my choices!


Now the removal and sewing begins.


You'll need a thread remover tool (about $2)


Place thread remover under the button and through the thread you wish to remove.


There will be thread left over so get out your scissors and cut it off your garment.


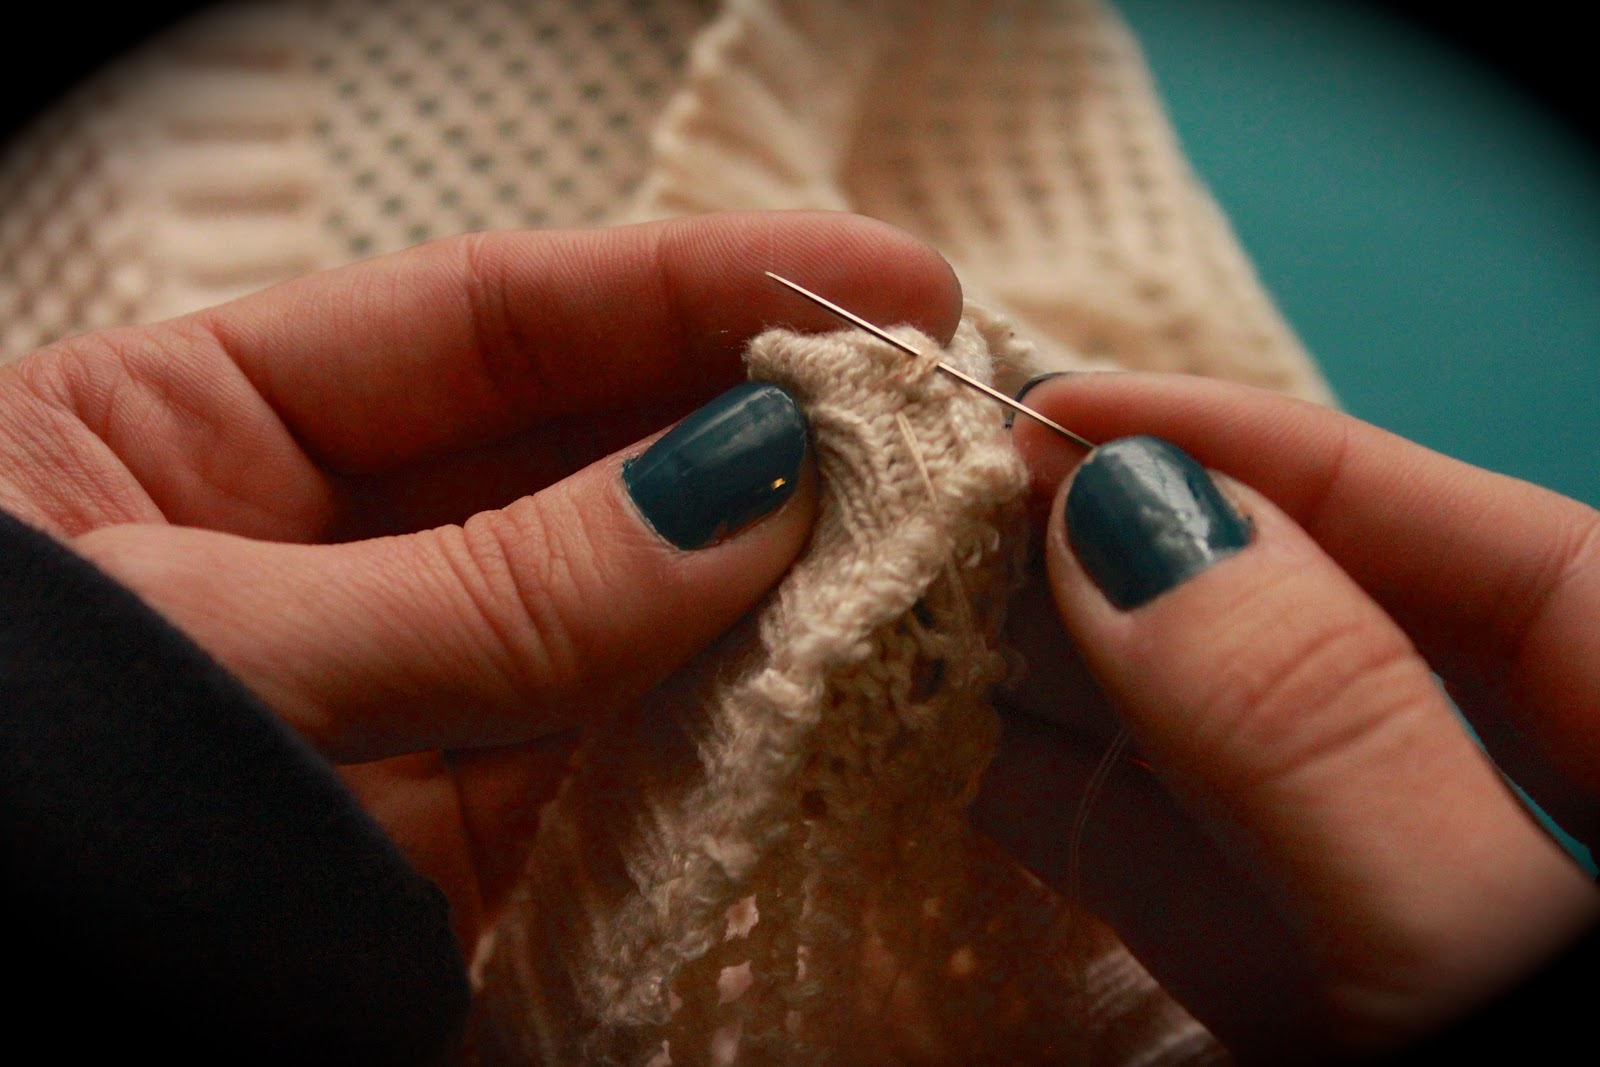
Find matching thread, measure it arms length apart. Insert into the needle and get your button ready.

Don't forget to knot the end of your thread.


Start from the inside of the item you are sewing the button to.


Once you the thread through the first time, place the needle between your thread and pull it through. This will make an extra knot and add security to your button.


Sew your thread through the fabric about 5 times before you are ready to add the button. When you are ready thread through the button.


Sew the button through the fabric about 5 times, or until you believe it's secure.


For extra staying power thread the needle through the thread behind the button.


Knot and cut off remaining thread.


Finished product, plus the rest of my newly revamped clothing.


Last but not least, my favorite!


Now go through your closet and see what you can improve with the help of some fancy buttons.

XO