Showing posts with label street style. Show all posts

Wednesday, May 1, 2013

4 Quick Projects

 A few April showers later, and spring in definitely in bloom. I documented some quick projects to share. Why not give something new a try.

1.)Tiny Storage Tubes
This collection of pill containers really did come in handy. Now I can house the tiniest in size, but some of the greatest in my work: studs and other embellishments. 
(really the only medicine I need)


2.)Ticket Stub Collage
I have been going to shows since the 7th grade and collecting my ticket stubs ever since. Some were lost along the journey to the present, but a great way keep the rest of the memories safe and alive all at once, is by creating a collage.


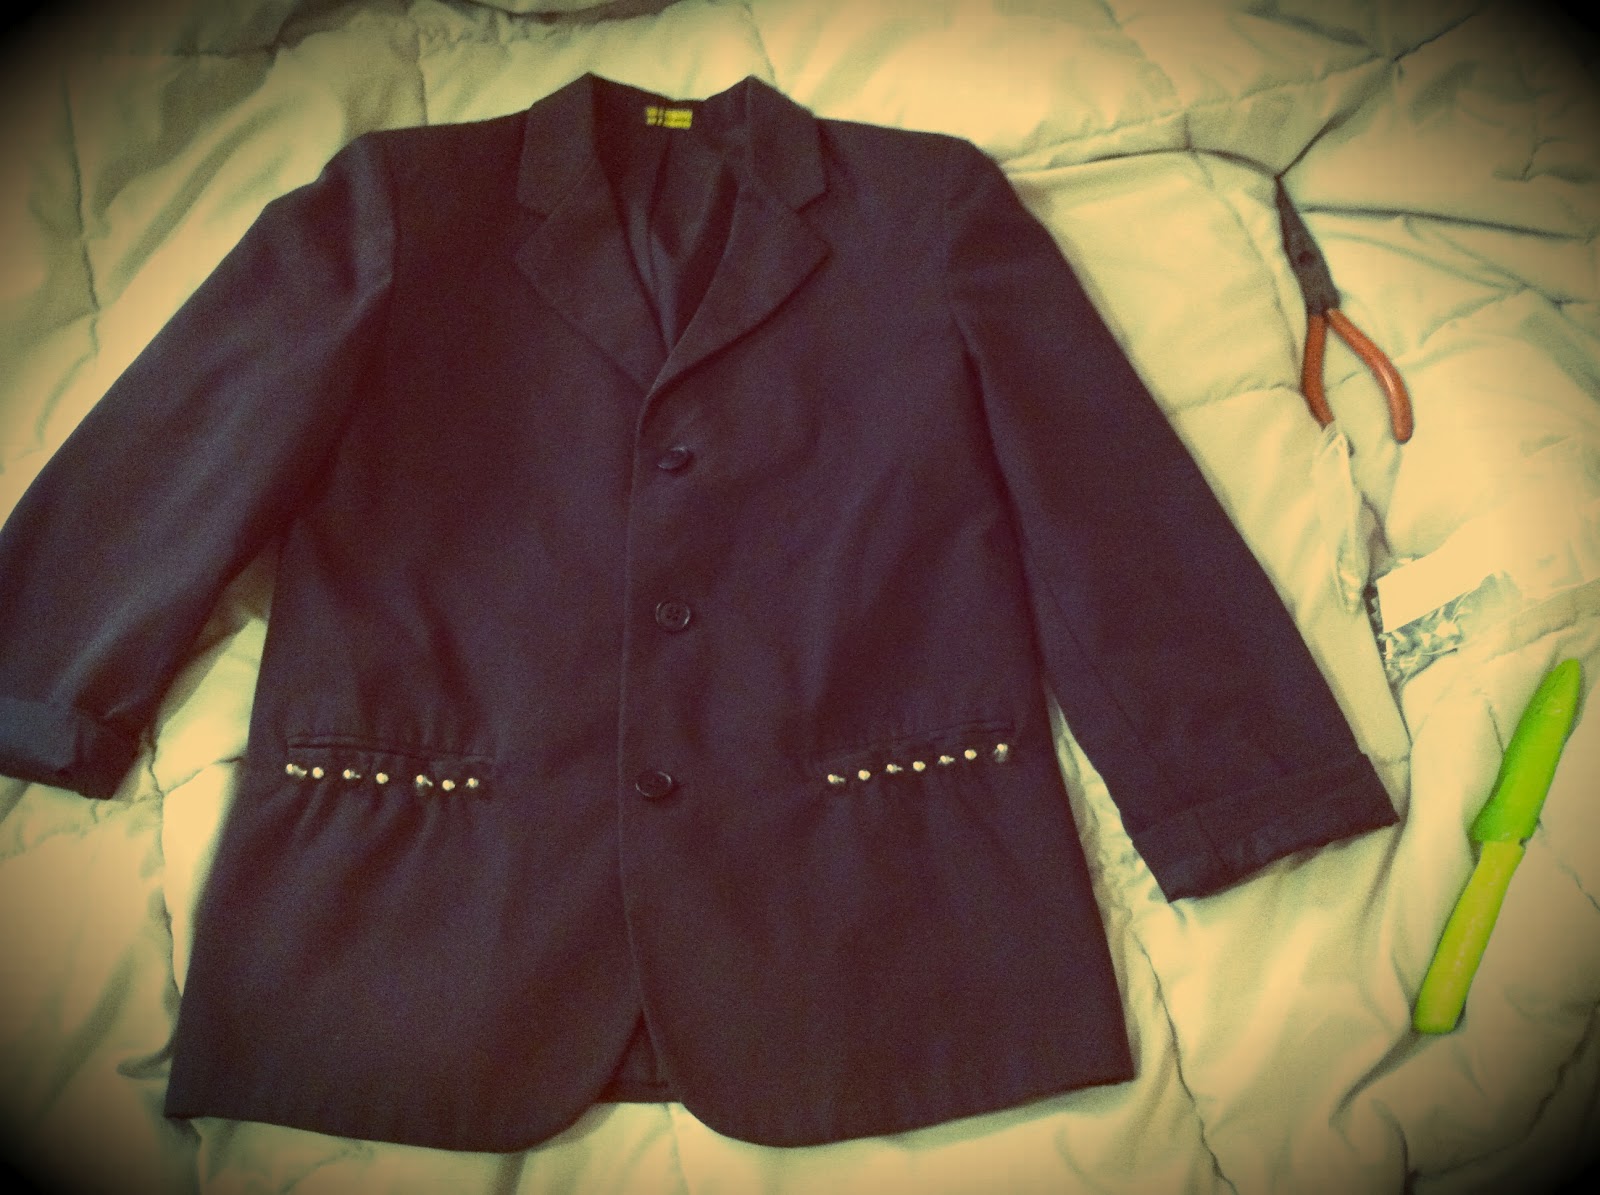
3.)Replace Buttons with Studs
I thrifted this skirt a few weeks ago and thought it could use a little pick me up.  Using needle nose pliers and a thread remover, I replaced the non functional buttons with black studs instead.


4.)Denim Jacket + Pin Collection
My favorite classic denim company has got to be, hands down, Levis. Wanting to add some character to my new thrift find, I used some old pins from high school and a few new ones.
(also created a new & cleaner watermark)


Later Kids :)


Friday, June 15, 2012

How to stud an article of clothing.


On the menu today, we have an old thrift find I discovered about 3 years ago at The Salvation Army in Middletown, NY. A little black, little boys blazer--a petite young lady's dream, really. I already have two black blazers, this one being more fitted, so i thought why not add some edge to it.

I decided to mix it up and do a combination of brass and silver hardware, that way I  don't have to go crazy about which jewelry matches or not (an old obsession of mine).  The studs i will be using are from studsandspikes.com. Shipping was lightning quick.

Before doing anything, I like to layout the pattern I will be executing. It's acts as a visual of the finished product and gives you an idea of what works for the garment. Of course this is entirely up to you, and what you want the end result to be.
Some of the studs points may be too dull to manually insert into the fabric you are working with, thats where a good knife comes into play. In this case the silver ones needed some assistance.
Here we go! Press the stud into the starting point of the fabric to make a perforation.
Pierce the fabric using the guidelines of the perforations.
Some of the prongs of the stud may need to be straightened out before placing into the fabric. This can simply be done with a pair of pliers.  

Press the stud through the holes you created.

Now bring the pliers back into the game, and get ready to bend the prongs of the stud to set it in place.

The next stud I like to place is what i call "the end point stud". If this is done, there is no way you can screw up the pattern you want to accomplish.
Now you are ready for the brass studs. The points on these were sharp enough to pierce the fabric on there own. You are just going to repeat the whole process as shown above.


One pocket done!
Fin!
Remember that you can always go and add more to your creation, but with a lot of D.I.Y. projects, especially ones involving clothing, it is difficult, and sometimes impossible to go back and make changes. Once you cut into a shirt--that's that. I myself have ruined amazing clothing attempting to create something more from it. It's just a matter of learning from your mistakes, and remembering to do it better next time. Never give up!

I went ahead and added some more. I'm sort of obsessed :)

Now Playing:


Artist: Beach House
Album: Teen Dream
Song: Zebra