Reconstructing the T-shirt is a favorite past time of mine, the outcome being endless. I'm going to show you how to create a Knotted Fringe Tee, one of my takes on a classic style.
You are going to need an over sized Tee, I normally where an XS and I'm using one that is equivalent to a size M-L.
Here are some helpful tools that every T-shirt re-constructer should acquire, a rotary mat and a rotary cutter.(Thanks to my friend Christina!) The mat protects the surface you are cutting on and the cutter,almost resembling a pizza cutter, rolls along fabric and gives off an even edge.
Place the mat on a flat surface and lay the shirt out evenly.
The rotary mat has inches already measured out for you. Line up the bottom hem of the shirt to 1 inch and cut it straight across.
Your shirt should look like this.
Take a ruler and measure out about 3 inches from the under arm seem. Mark with chalk.
Line up ruler with chalk marking and extend the line across the shirt.
This will be your guide line.
Use the rotary mat and cutter. Begin to cut 1 inch strips up the shirt. Stop at the chalk drawn guideline.
You should end with an even number of strips, I cut 20. It's okay if some are a bit smaller than an inch wide, as long as you make sure you have an even amount.
Use scissors to cut along the hem on the sides of the shirt. The hem is your guideline. Repeat on the other side.
Hang up the shirt. A door handle or back of a chair will work well.
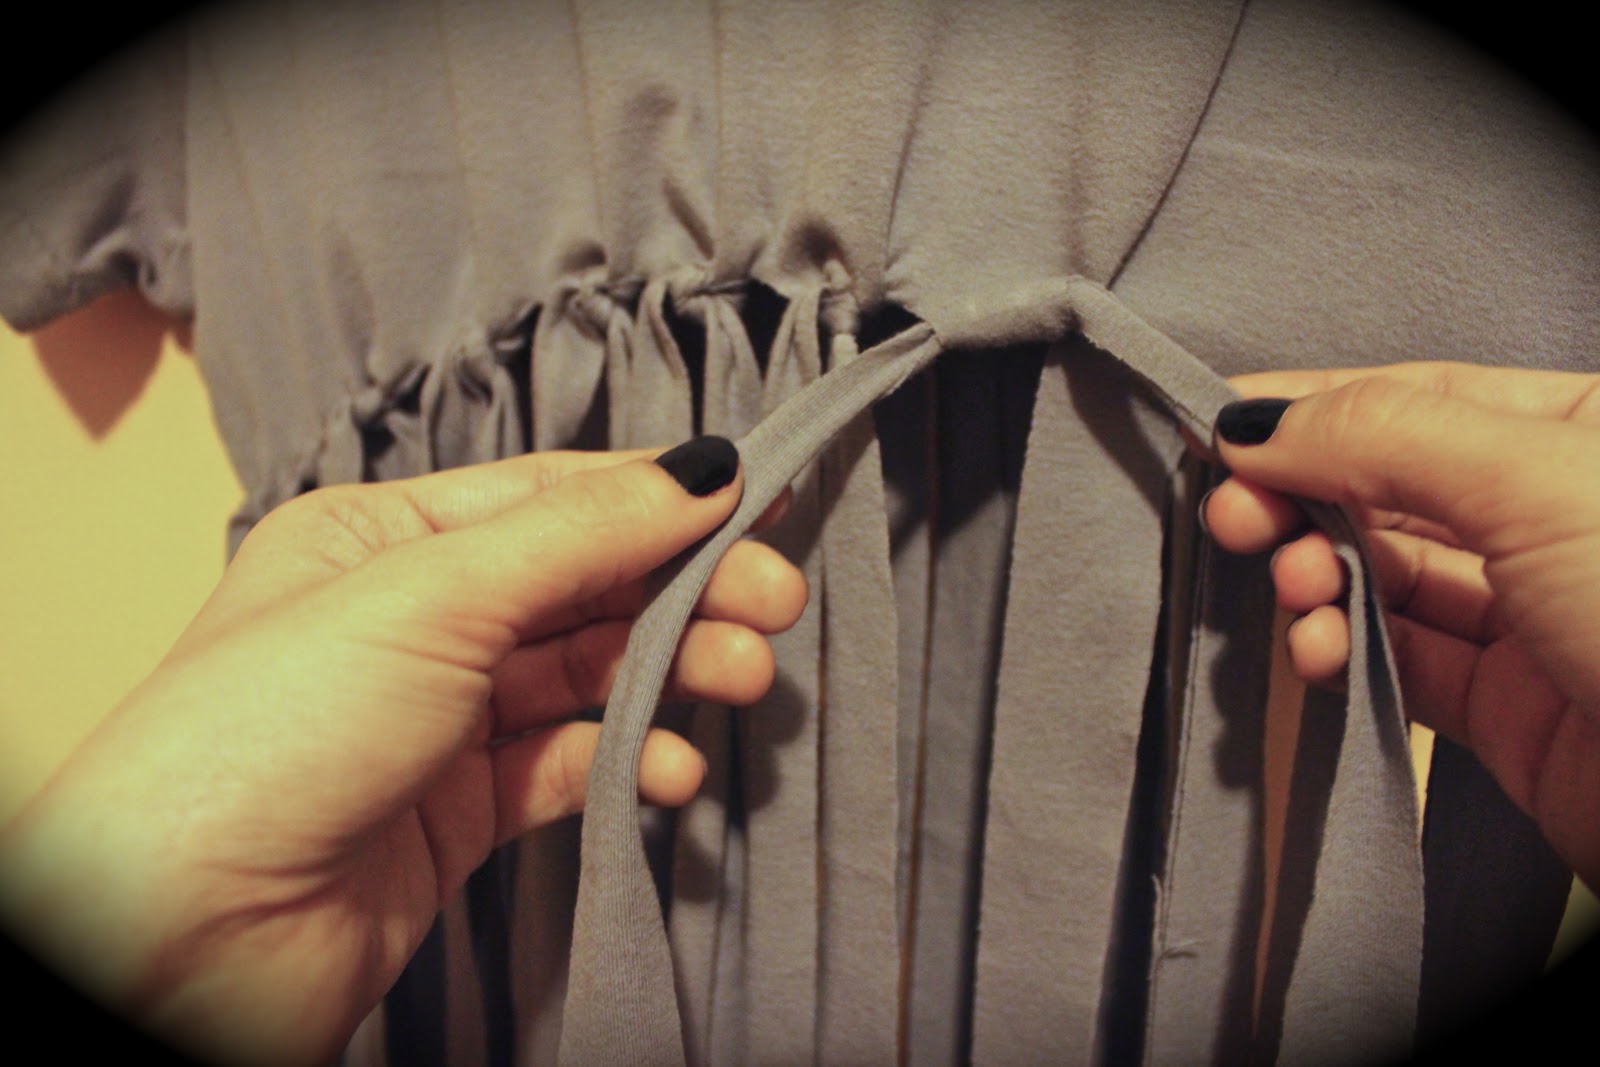
Now the knotting begins. I completed a few on the first row. Start from the seam under the arm. Take two strips exactly next to each other.
Cross.
Tie.
Knot...
...and repeat to double the knot.
The finished row will look like this.
Flip to the back.
Start from the hem under the arm and repeat the process.
Finished row will look like this.
Flip back to the front and begin the second row of knots by grasping two strips that are again next to each other.
Cross.
Tie...
...and knot.
Cross.
Tie...
...and knot.
Continue grasping, crossing, and knotting till you finish the second row.
Flip to the back repeat till the second row is finished.
Finished second row will look like this.
Keep on grasping the strips, tying, knotting, and flipping sides until you reach your desired fringe length. That's the beauty of DIY, it's over when you say it is. I completed 6 rows.
I paired this top over a navy long sleeved body-con dress. It will also look great with a high waisted skirt, pants, or shorts.
If you are feeling daring you can wear it with low rise jeans. Makes a cute summer crop top, or beach cover up over a bathing suit.
Take Care.
XO