Thursday, March 28, 2013

Mixed Media Bracelets


I've been seeing these bracelets everywhere and although I love the way they look, I can't see paying the full price when I know they can easily be made. 

Here's a few examples I snapped with my phone while browsing different shops.


You get the idea... 
So I went to work and made my own customized versions.


Tie dye fabric from the hem of a shirt that I reconstructed last week, and chain from a craft store can be braided together to make one of these neat bracelets.


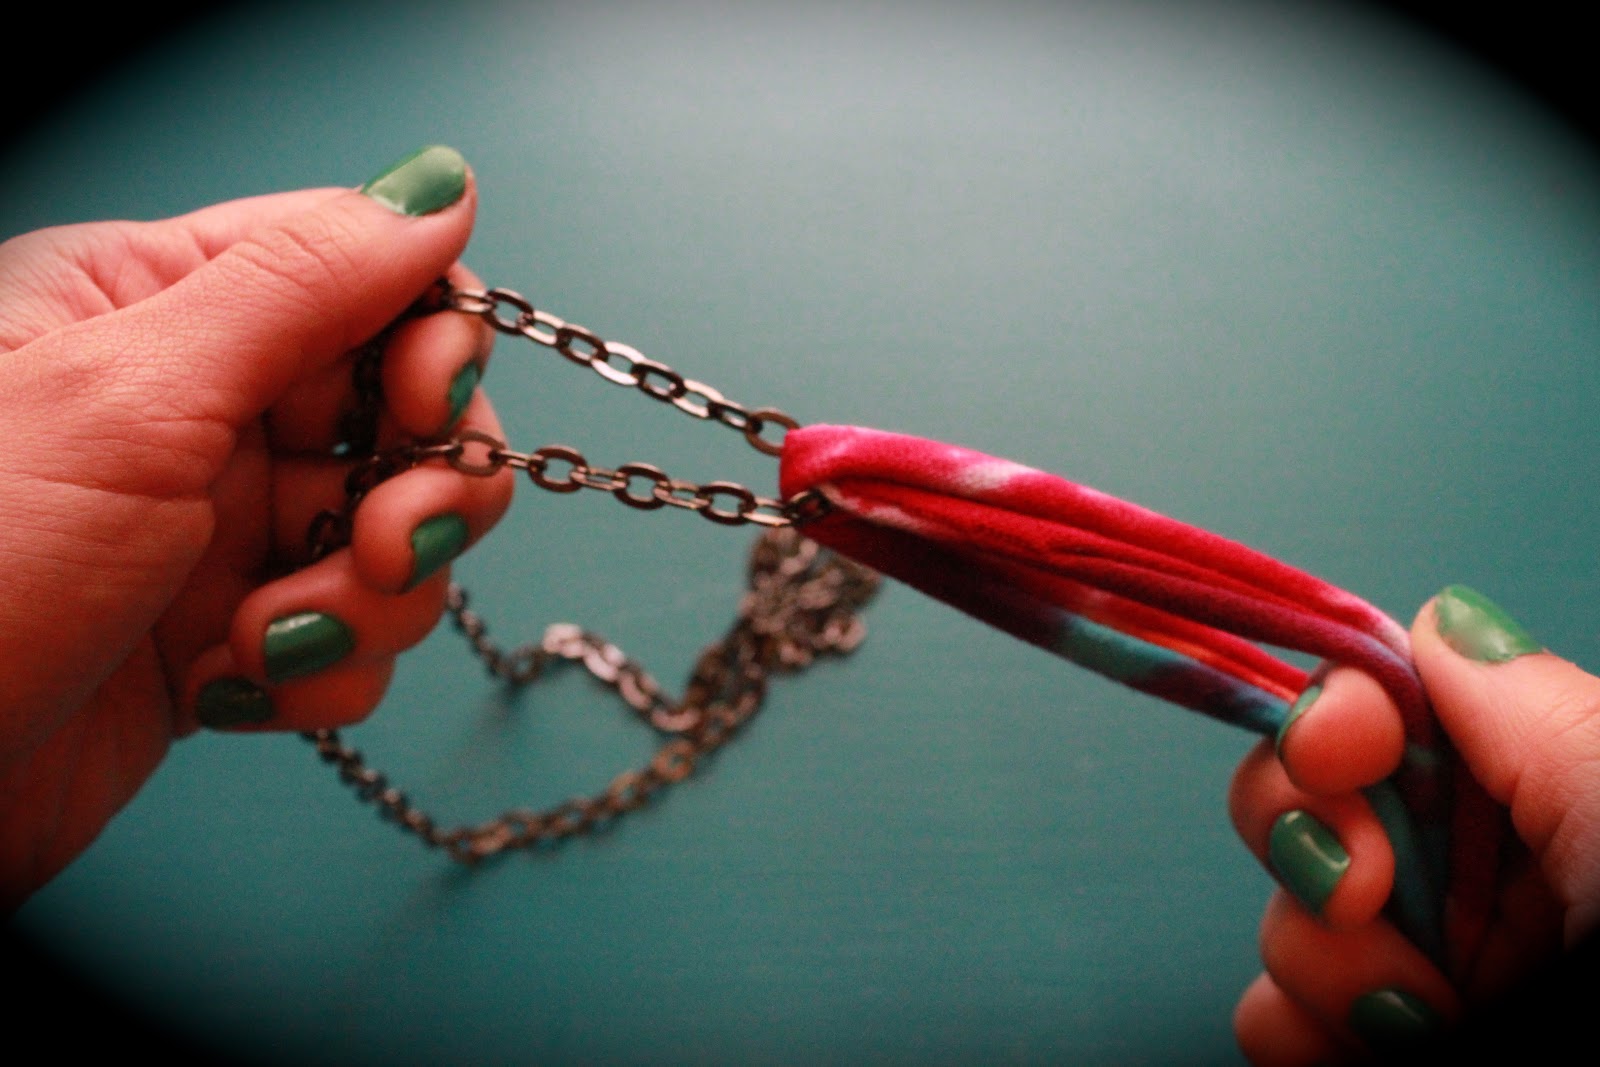
Wrap the remanding chain around your fabric, add a jump link, and close it off.


Split rings make for good closures; they are like mini key rings.


Next up, some left over vintage camo, suede, another chain, and jump links.


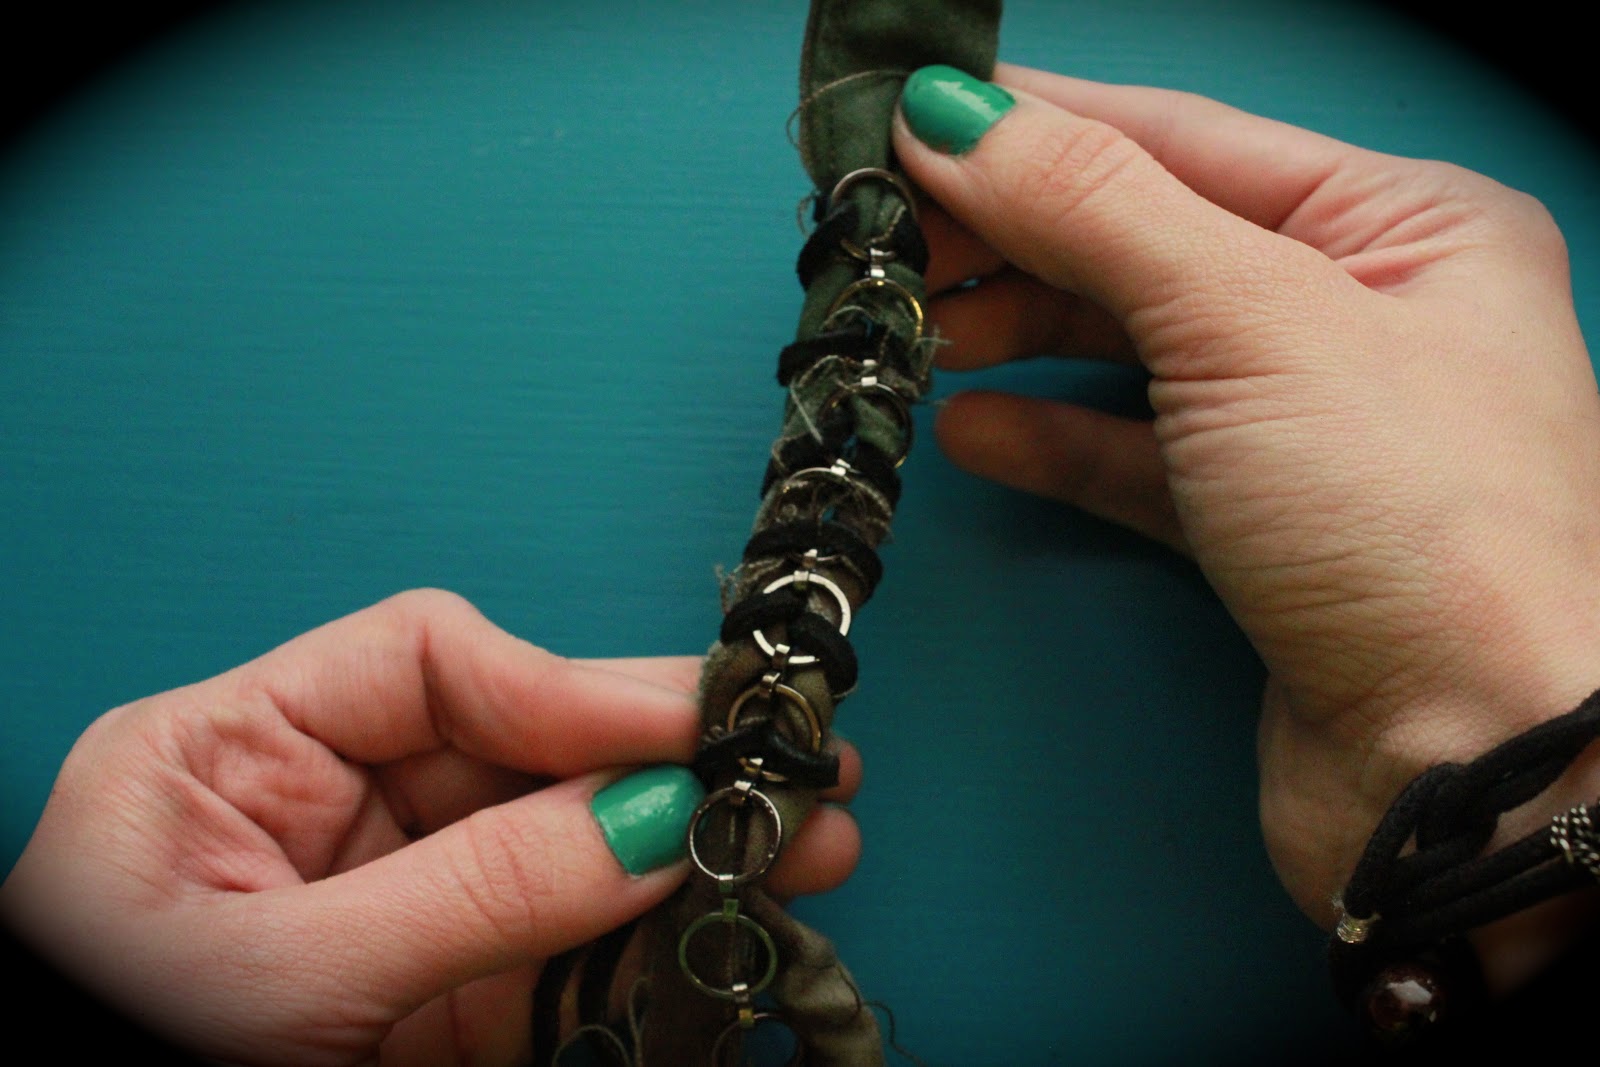
Remove any excess chain.


Cut off extra fabric and suede.


You can buy closures like this, and attach to the ends of your bracelet.


Now time for one I've been meaning to create for a while. I got this brass chain bracelet from a flea market upstate. Add red suede and another chain and you're set.


Three's a crowd...


...but four is company. Add a watch and you got a PARTY!


With inspiration, comes creation. 
Get those cranks turning, use it or lose it, and remember...


:)

Thursday, March 21, 2013

Learn How to Stencil

When I first witnessed a classmate of mine in High School stencil a design on a shirt, I knew this was something I NEEDED to learn. Being able to print an image off of your computer, cut it out, and paint it on a T-shirt, was right up my alley. Back then, I think I stenciled on every blank shirt in my closet; I was obsessed! With the option to customize any basic T, for an extremely low cost, I think of stenciling as sort of a "poor man's" screen print.

Here are a few throw backs I made for a friend. (Thanks Jersh


Now you can learn!


You will need a shirt, an image, freezer paper, an x-acto knife, 
tape, a cutting board (or thick magazine), an iron, fabric paint, and a stenciling brush.


Letters and words are perfect for beginners.


Trim the freezer paper to the size of the image. Place it plastic coated side down (it will be shiny), and tape all the edges down to fasten it to the cutting board or magazine.


The freezer paper is transparent, just follow the outline of the letters and cut them out with the exact-o blade. Some letters in your words may not have openings, you will have to outline them with pencil and create a bridge.


The completed bridge cut out will look like this.


First word finished. Don't forget to draw out any other needed bridges.


Finished Stencil! 
Now it's time to iron it on your shirt.


Remove your freshly cut stencil from your print out. Make sure you take off all of the tape around the edges.


Place stencil in desired location and iron on using a low heat setting.


Once the stencil begins to flatten it is the fixed to your shirt. 
Time for the paint and spouncer brushes.


Before painting make sure you put an old magazine or news paper between the layers of your shirt. This will prevent any bleeding.


Now begin painting. Try and spread the paint out as much as possible. You can always go back and add more if necessary. Too much paint will cause unwanted air bubbles and will not let the paint dry smooth. 


Let paint dry flat for at least 4 hours. 


Peel stencil off and you are done!


When your skill level has improved, you will be able to cut out a more intricate image.


At The Drive In, will always be in my heart. I don't own a shirt of their's so let's do this! I found this image on
stencilry.org which provides several pre-made stencils for personal use.


You can close large bridges by drawing a guideline and filling them in with a small paint brush.


Finished Product :)


Now it's your turn to do it, to it!


:)

Here's some food for thought: